Finish Polishing Sponge, Ø 150 mm – Honeycomb Structure for Finish Polishing


The red Finish Polishing Sponge, Ø 150 mm, is designed for the final polishing step on epoxy resin surfaces. When used with a suitable finish polish, it helps reduce the finest polishing marks and gives the surface an even, clear high gloss.
The textured honeycomb/hexagonal surface distributes the polish evenly and facilitates controlled work. At the same time, the texture helps reduce heat buildup during the polishing process.
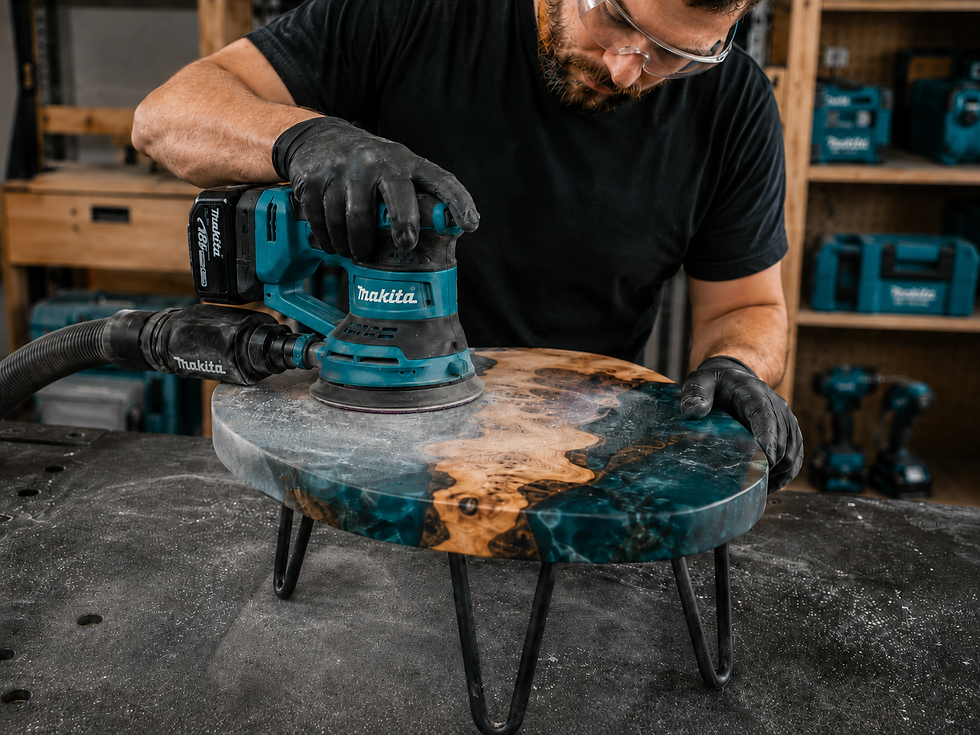
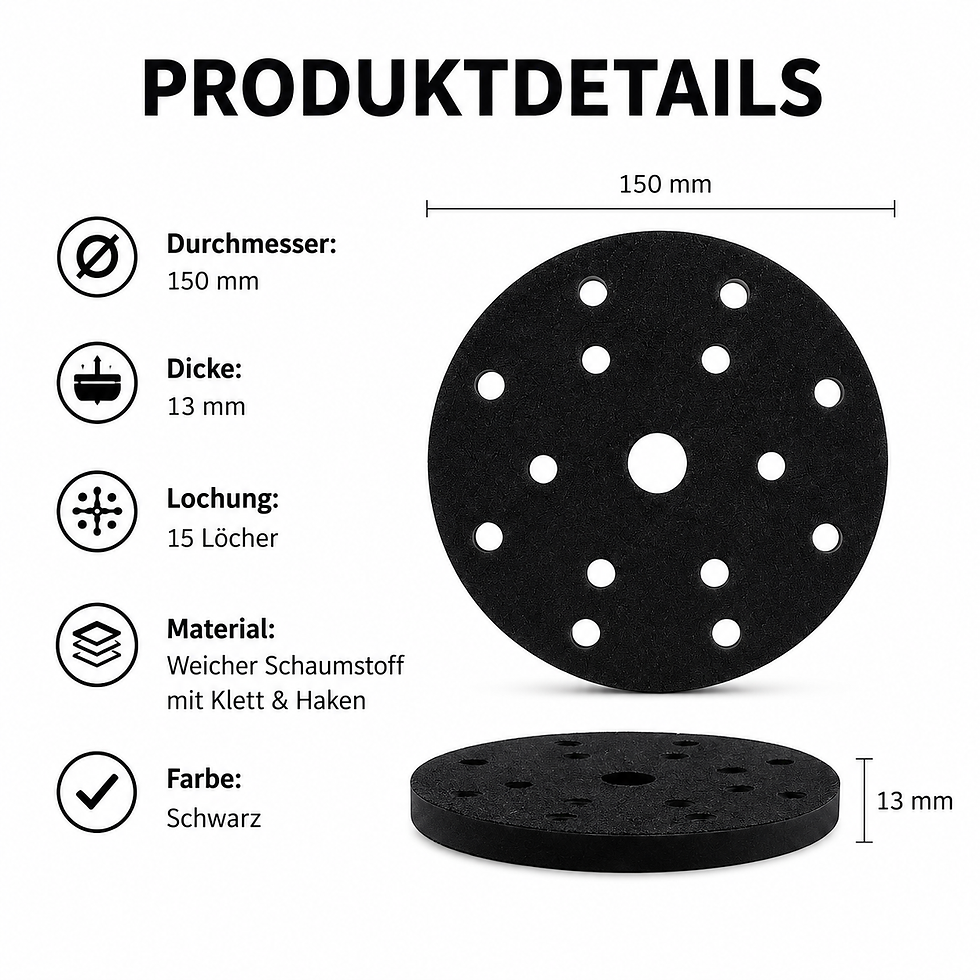
With a polishing surface of Ø 150 mm, the polishing sponge is suitable for compatible random-orbit and rotary polishers. The hook-and-loop backing (Ø approx. 130 mm) allows for quick and secure attachment to a compatible backing pad.


Ideal for the final polishing step on epoxy resin
The finish polishing sponge is used after the surface has already been sanded and pre-polished with a medium-grit polish.
- It is particularly suitable for:
- Epoxy resin tabletops
- River tables
- Wood-epoxy resin projects
- Resin coasters
- Trays
- Small epoxy resin art pieces
- Decorative objects
- Surfaces that have already been finely sanded and pre-polished
- The red polishing sponge is not intended for heavy material removal, but rather for refining and finishing the surface.
Honeycomb Structure for Even Polishing Distribution
The surface of the polishing sponge features a distinct honeycomb or hexagonal structure.
This structure promotes:
- even distribution of the polish
- controlled application
- good adaptation to the surface
- reduced heat generation
- consistent polishing results
Excessive heat should be avoided during polishing, especially with epoxy resin.
For Finish Polishing
The red polishing sponge is ideal for applying a fine finish polish.
While a medium polish is used for the first polishing step and to remove fine sanding marks, the finish polish is used to further refine the surface and build a particularly clear shine.
Recommended order:
Fine Sanding → Medium Polishing → Final Polishing → Microfiber Cloth
For a particularly high-quality result, we recommend using the individual products as a coordinated system.
The right system for perfect epoxy resin surfaces
1. Preliminary Sanding
If there are significant irregularities or coarse sanding marks, start by using our preliminary sanding kit.
The preliminary sanding kit is designed to even out irregularities and prepare the surface for the finer sanding stages.
2. Fine Sanding
Next, the surface is gradually refined using our fine sanding kit.
The finer the surface is prepared before polishing, the easier it is to achieve a uniform high gloss afterward.
3. Medium Polish
After fine sanding, the first polishing step is performed using our medium polish.
For this step, we recommend our blue medium polishing sponge, Ø 150 mm.
The combination of medium polish and the medium polishing sponge serves to further reduce any remaining fine sanding marks and build up the shine of the epoxy resin surface.
4. Finish Polish
For the final polishing step, use a finish polish together with this red finish polishing sponge (Ø 150 mm).
This step further refines the surface and ensures a clear, even high gloss.
5. Removing Polishing Residue
After polishing, any remaining polishing residue can be gently removed with our soft microfiber cloth (40 × 30 cm – 800 g/m²).
The microfiber cloth is ideal for the final cleaning step on epoxy resin surfaces that already have a high gloss.
Complete Workflow
Coarse sanding → Fine sanding → Medium polish + blue medium polishing sponge → Finish polish + red finish polishing sponge → Microfiber cloth
Ø 150 mm Polishing Surface
The front polishing surface has a diameter of approximately 150 mm.
This gives the pad a sufficiently large working surface for tabletops and larger epoxy resin projects, while still remaining easy to control.
Velcro Back, Ø approx. 130 mm
The back features a Velcro surface with a diameter of approx. 130 mm.
The slightly larger foam edge adjacent to the hook-and-loop surface provides additional protection, as the hard backing plate does not extend all the way to the outer edge of the polishing pad.
The hook-and-loop attachment allows for:
- quick pad changes
- secure hold
- easy centering
- effortless switching between medium and finish pads
Durable and Reusable
The finish polishing sponge can be used multiple times with proper care.
After use, remove any remaining polish from the sponge as soon as possible and clean the pad thoroughly. Then let it dry completely.
This helps preserve the foam structure for longer, allowing the pad to be used for future projects.
Frequently Asked Questions
What is the red polishing sponge used for?
The red polishing sponge is intended for the final polishing step using a finish polish.
What is the difference between this and the blue medium polishing sponge?
The blue medium polishing sponge is used during the first polishing step along with a medium polish.
The red finish polishing sponge is then used to further refine the result and enhance the high gloss.
Do I need to sand first?
Yes. For a high-quality polishing result, the surface should first be sanded as evenly as possible.
For this, we recommend our basic sanding kit, followed by our fine sanding kit.
Which polish works best with this pad?
For this polishing sponge, we recommend a fine finish polish.
How do I remove polish residue?
After polishing, our 40 × 30 cm, 800 g/m² microfiber cloth is ideal for gently removing any remaining polish residue.
Can the sponge be reused?
Yes. If thoroughly cleaned and stored properly, the polishing sponge is reusable.
Polishing sponge finish Ø 150 mm – for finishing polish
- Allow the epoxy resin to harden completely.
- First, sand the surface and then sand it finely.
- If necessary, first pre-polish with medium polish and a medium polishing sponge.
- Clean the surface and polishing sponge of any residue.
- Attach the red finishing polishing sponge to the center of the hook and loop backing plate.
- Apply a small amount of finishing polish to the pad or surface.
- Apply the polish at low speed first.
- Then polish evenly in overlapping passes.
- Don't work in one position for unnecessarily long periods of time.
- Check the surface temperature regularly.
- Remove any polish residue with a clean microfiber cloth.
- Check the result and, if necessary, perform another short finishing pass.